

Sublimation Tips and Tricks
The Black Box Test
A practical calibration method for finding the right combination of time, temperature, and pressure on unfamiliar substrates.
Calibration Guide
Mastering the Black Box Test
When experimenting with new substrates or unfamiliar products, achieving consistent sublimation results can be challenging. You may be testing a new brand of polyester shirt, pioneering an untried product, or adjusting a heat press for an item that does not respond well to standard instructions.
In these situations, the Black Box Test provides a practical way to fine-tune your process and evaluate how time, temperature, pressure, ink, and substrate interact.

01
Introduction to the Black Box Test
Whether you are a beginner or an experienced sublimator, understanding the interaction between materials and machine settings is essential. The Black Box Test offers a simple but powerful way to fine-tune your equipment.
The method is particularly useful for checking black tones—a common challenge in sublimation. By reading the color and clarity of a pressed black square, you can adjust the process until the result is a true, deep black.
02
Prepare Your Black Box for Testing
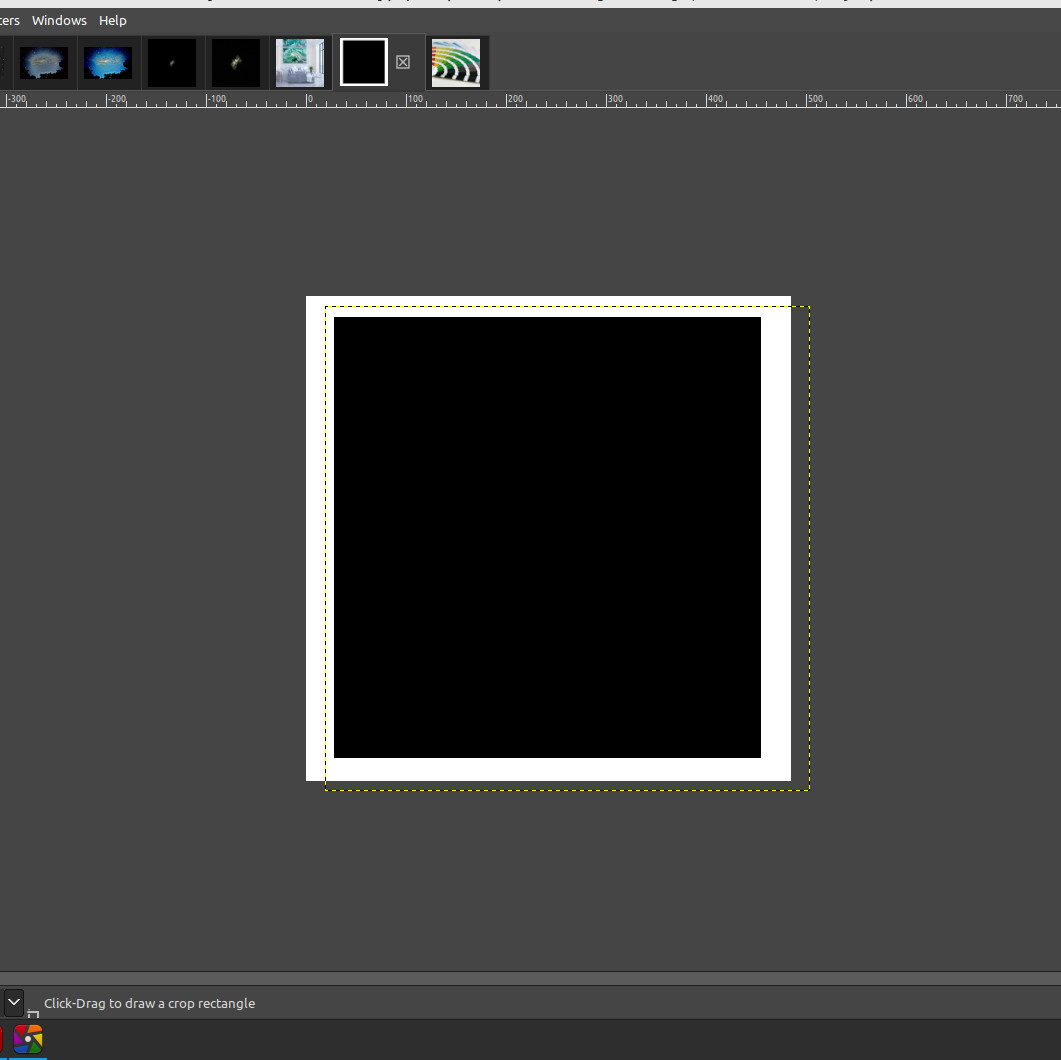
Create a solid black square in your printing software. A square measuring approximately 2 inches by 2 inches is a useful starting point, although you can adjust the size for your needs.
Make it large enough to evaluate color, density, edges, and overall clarity after pressing. Print the square using your normal sublimation printer, ink, and paper.